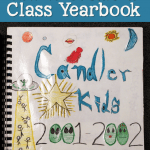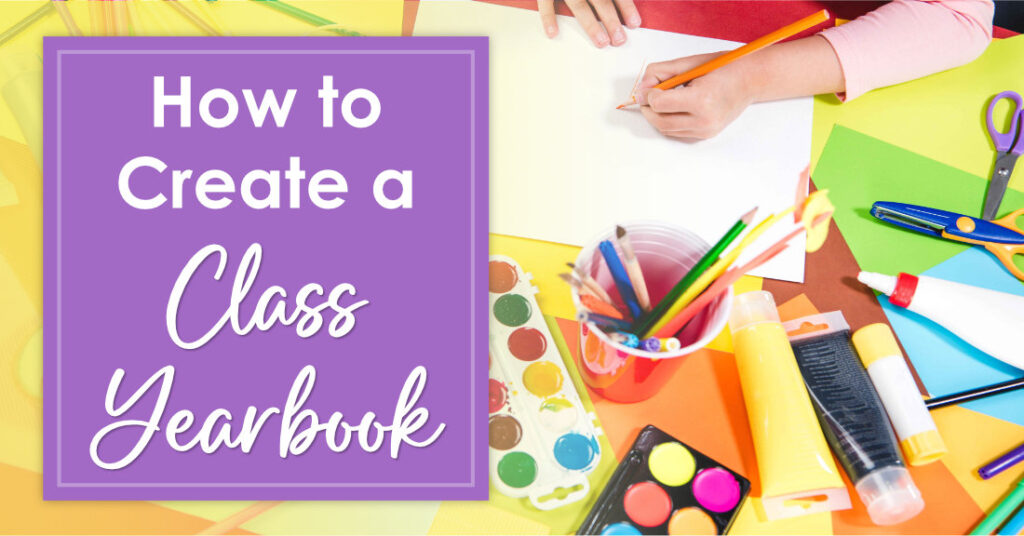
One of my favorite projects at the end of the school year was to have my students create a classroom yearbook, which was essentially a giant scrapbook. The project was easy and fun, and my kids loved looking through all of the scrapbooks from years past. Each student created one page in the scrapbook, and we had a design contest for the front cover of the book. In addition, each scrapbook contained about 10 pages of collages of pictures I had taken throughout the year.
I have a whole box of class scrapbooks like the one shown above, and I love taking them out and remembering the students I taught many years ago. Each student wrote me a special letter that was glued on the back of his or her page, and it’s a joy to reread them!
If you haven’t done this project with your students before, give it a try! I think you’ll find it to be a great way to wrap up the year. Here are my step-by-step directions and tips for guiding your students through this project, along with the Letter to My Teacher template.
Materials Needed:
- 12” x 12” heavy white drawing paper or scrapbook paper
- an assortment of colorful and/or patterned scrapbook paper
- lined paper or “Letter to My Teacher” template
- rubber cement or scrapbook adhesive
- photos of students and class activities
- markers, crayons, and colored pencils
- scissors (scrapbook scissors are fun!)
Step By Step Directions:
- If possible, show students an example of a family scrapbook or yearbook. Point out details about the arrangement of pictures and elements on the page. If you have scrapbooks from previous years, let students look at those to see examples of how the pages look.
- Tell students they will be designing their own scrapbook page, front and back. The front will include their name in fancy letters and a photo of themselves. On the back they will write a letter to you telling you their feelings about the school year.
- Give each student piece of scrapbook paper on which to create their page. You may also want to give them a practice page to test out lettering methods, scissors, colors, etc.
- Allow students to choose one or two piece of scrapbook paper for creating borders and other elements. They should only need 1/2 sheet of each.
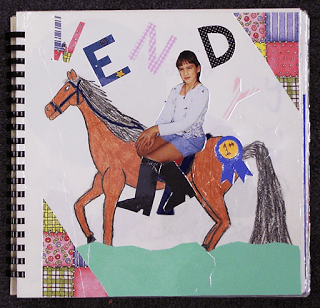
- Help students cut their borders, photos, and other elements as needed. Make sure they have their first name in large letters somewhere on the page along with a photograph. The example shown above is the one my daughter Wendy did the year she was in my class. I love how she cut out her picture and put herself on the back of a horse!
- Ask students not to glue anything down until they have cut out all elements and arranged them on the page. Remind them to leave about an inch margin on the left side that’s free of words and images to allow for binding. You may want to do the gluing yourself to be sure everything is in place properly.
- Have students write their letters to you on lined paper or on one of the pages of the Letter to My Teacher template. There are several variations with different line spacing and in different sizes. Allow students to choose partners who can proofread and help edit their letters. Glue each student’s letter on the back of his or her page.
- Let your class decide on a name for the yearbook. It might be “Mrs. Candler’s Class Yearbook,” “Candler’s Crazy Kids,” or something similar.
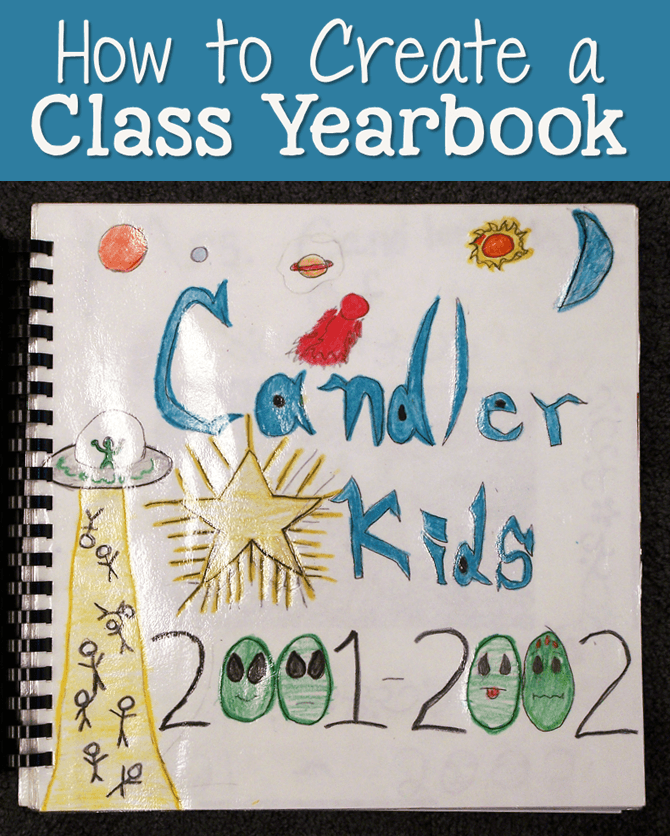
- After you have selected a name for the yearbook, have a cover design contest. Give any student who wants to enter the contest a sheet of 12 x 12 paper and time to work on their designs. Remind them to include the name of the scrapbook and the school year. When all designs are complete, have a secret ballot vote to select the winning design.
- Select a small group of students to create pages with your photos of classroom activities. I often have them work on this part while others are working on cover designs.
- When all pages are complete, laminate them and bind them with a strip of large plastic comb binding. If your school doesn’t have a binding machine, you may have to take it to an office supply store to have this done.
- Be sure to allow plenty of time for students to look through their class scrapbook. It’s best to have them sit on the floor and open in it their laps or open it flat on a large table. I know from experience that if it’s handled roughly, it will fall apart.
Digital Classroom Yearbook Options
One way to preserve the yearbook is to scan the individual pages and combine those files to create a digital version of the document. You can upload the digital version to a class website or send it by email to your students and their parents.