Guest post from Valerie Young
I’m Valerie from All Students Can Shine and I’m here to tell you all about interactive notebooks!
I started using these in my classroom this year and I would have loved to have all my questions answered before I got started.
If you haven’t given these a try yet, or if you would like to perfect your use of interactive notebooks, this post is for you!
What are Interactive Notebooks?
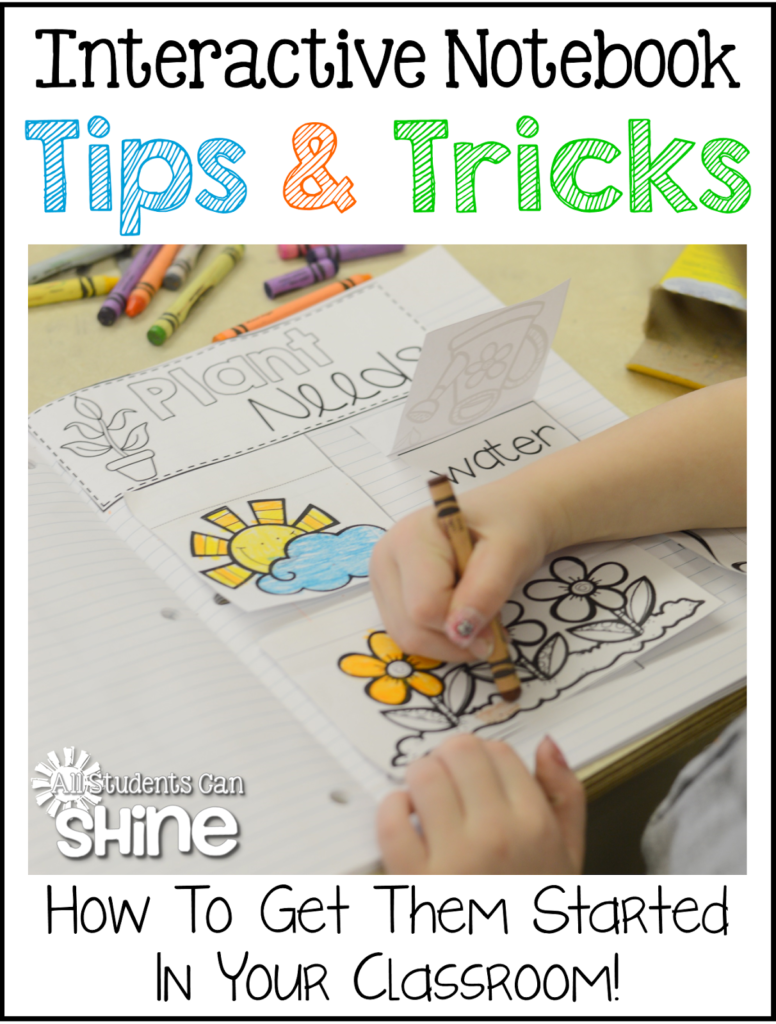
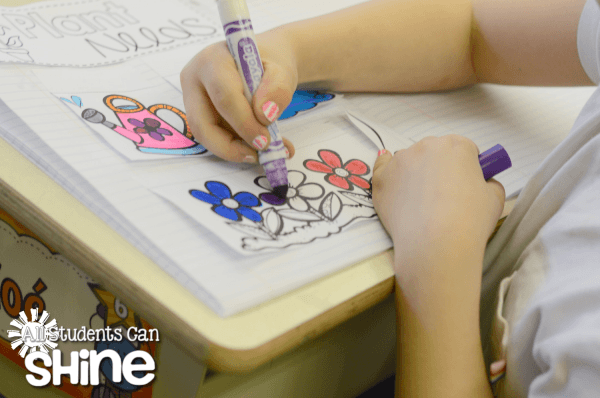
Interactive Notebooks (IN) are your students’ “go to” resource, where they can refer back to any concepts that have been taught in class. It’s a more interactive way to take notes!
As the year goes on, students add pages to their notebook and refer back to them when studying or when they need to review a concept and/or skill. They are basically building their own textbook as the year progresses.
IN are a great tool for teachers! They help us reflect on both our students’ learning styles and our own teaching and planning. They are a great way to analyze our students’ understanding of new concepts. In turn, we can use the knowledge that we gain from the IN to create, plan, and manage our small group instruction. We can also use this information to make accommodations and modifications for all students, not only those on individual learning plans. Observation during the IN process is a great time to take notes on students’ learning, questions that may arise, and skills that they may be struggling with. This helps with further planning and teaching.
Tips for Starting Your Students’ Interactive Notebooks
- Have your students create and decorate their own covers to make the book their own.
- Save the first few pages for the table of contents. Fill in those pages every time you add a new interactive activity to the book.
- Ask your students to NUMBER their pages in order to be able to use their table of contents effectively.
When Do I Use IN In My Classroom?
It’s up to you! I suggest that you dedicate the same teaching period every week in order to stay on track. However, this may not work for you. If you are using the IN for math, you might want to have your students complete the page at the beginning of a unit. For example, the measurement page should be completed at the beginning of your measuring unit. This way, students can refer back to their notebook if needed. Remember, this is a tool that students should be using to clarify concepts.
How Much Time Does It Take?
That really depends on you, your class, and how much time you are willing to put into this. Start small and go from there. The more you students get familiar with using their notebooks, the easier it will get and the faster they will be with the cutting and gluing. If you spend lots of time teaching them the rules and procedures at the beginning of the year, the better they will be at it down the line.
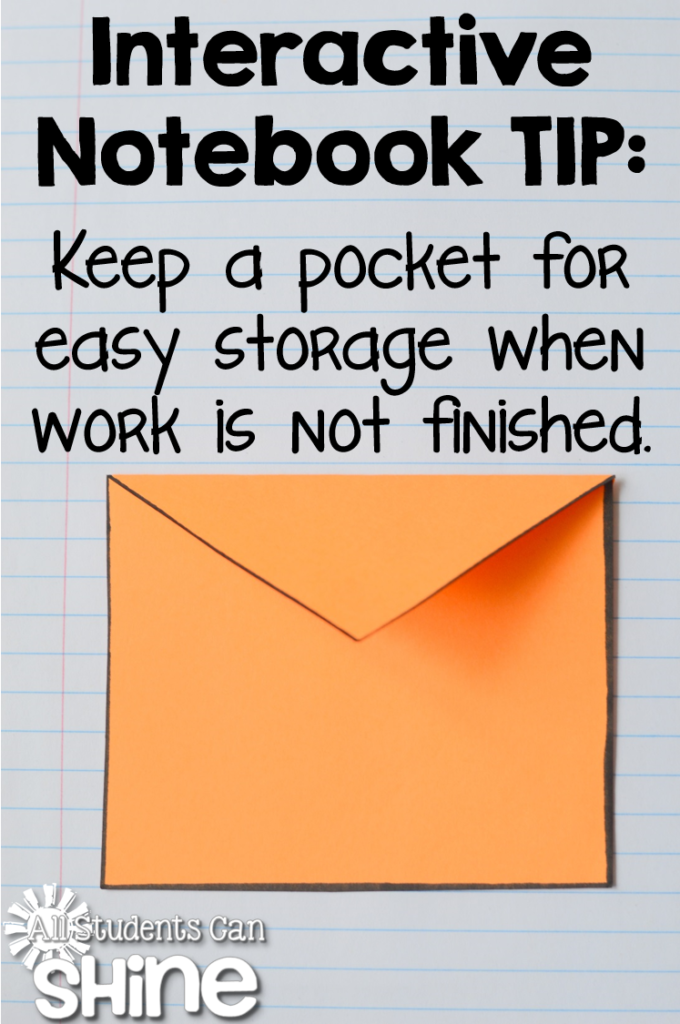
The BEST Tip That I Ever Got Regarding IN?
Keep a pocket at the front of every student’s notebook!
This way, if they are not finished with an activity, they will have a place to store their loose pieces!
I always display a model of the page we are working on. This helps students by giving them a reference to look at when they are working on their page. It saves you time because you can now concentrate on more important things such as helping students with the writing component.
 If the flaps are small and they are required to write under them, I suggest that they trace the flap once it is glued in their notebook. This way, their traced line will create a boundary for their writing.
When cutting and gluing, ask students to keep all their scraps ON THEIR DESK in order to avoid them looking for missing pieces that may accidentally make their way to the recycling bin!
What Do I Need To Get Started?
All you need is a simple copy book for each student! There are plenty of interactive notebooks available online. Just do a quick search on the web, or on Teachers Pay Teachers, and you are sure to find what you need!
Make Sure Your Students Are…

Proud of their work! That’s what is most important!
If you students create something that they are proud of, they are more likely to use it as their “go to” resource!
I hope I have answered all your questions. Feel free to leave me comments or questions. I love to keep in touch!
If you like the notebook page that you see featured in this post, you can grab yourself a free copy HERE.
A big THANK YOU goes out to Laura for giving me the opportunity to guest blog!
Valerie Young teaches grade one in a small town north of Montreal, Canada. She’s passionate about using technology in the classroom, as well as using teaching methods that involve movement and hands-on learning. She blogs at All Students Can Shine.