A few years ago I served as a math tutor for three days, and I worked with 3rd, 4th, and 5th grade students on time and measurement. I had never taught 3rd grade, so I wasn’t sure what to expect. When I found out that my students had not yet learned how to tell time, I figured it might become quite an adventure!
I was right and the experience of teaching time did turn out to be an adventure, but it was fun and rewarding! Over the next three days I learned a great deal about how to teach time to children, and I wanted to share some of my insights here on my blog. For example, I noticed that students who didn’t know the multiplication facts for 5 struggled with reading time to the nearest 5 minutes. I’m also going to share some free resources you can use with these lessons.
Skills Needed for Telling Time
Before we can address the topic of HOW to teach time, we need to examine WHAT to teach. Most of us learned to tell time so long ago that we don’t remember how confusing the concept can be. But when you start to plan lessons for teaching time, you begin to realize the number of skills students must master. The lessons outlined in this article will cover the skills listed below, but this is only a small subset of all the skills needed to tell time.
Click each skill below to learn more about it.
Fluency with Multiplication Facts for 5
This skill might surprise you, but you can see its importance when you consider the numbers on an analog clock. The 12 numbers on the clock face don’t represent individual minutes, they represent groups of FIVE minutes. If the minute hand is pointing to the 8, it doesn’t mean 8 minutes, it means 8 x 5 or 40 minutes. Young children can skip count by fives to get the answer, but it’s much easier for older students to tell time if they know the multiplication facts for 5 fluently.
Understanding Units of Time
In order to tell time, students must know that there are 60 seconds in a minute and 60 minutes in an hour. They also need to know that there are 24 hours in a day, but most clocks only display 12 hours. To account for this, we divide the 24 hours into two parts, 12 hours in morning (AM) and 12 hours in the evening (PM).
Reading an Analog Clock
In order to read an analog clock, students must understand how to interpret the positions of the two hands in relation to the numbers on the face. They also need to know that the short hand represents the hour and the long hand represents the minute. Students are often confused about why there are only 12 numbers on the clock face when there are 60 minutes in an hour.
Setting an Analog Clock
Being able to move the hands on a clock to a specific time is another important skill. This particular task is more challenging than it might seem because the hour hand gradually moves from one number to the next over a period of 60 minutes. For example, when the time is 2:30, the hour hand will be halfway between the 2 and the 3.
Materials Needed for Teaching Time
Worksheets aren’t nearly effective as hands-on activities for helping kids learn to tell time. So before you even begin planning your lessons, you need to make sure you have the materials needed for interactive teaching. Click each list item below to learn more about it.
Click each list item below to learn more about it.
Student Clocks with Moveable Hands
Every student needs their own analog clock for hands-on practice with telling time. If you don’t already have them, you can purchase them here on Amazon. Or you can download this free printable pattern and have your students make clocks from paper plates.
Dry Erase Boards and Markers
Every student also needs a way to record their answers during whole group instruction, guided practice, and partner activities. Individual dry erase boards work well, but many teachers now have electronic “boogie boards” or other tools that can be used instead.
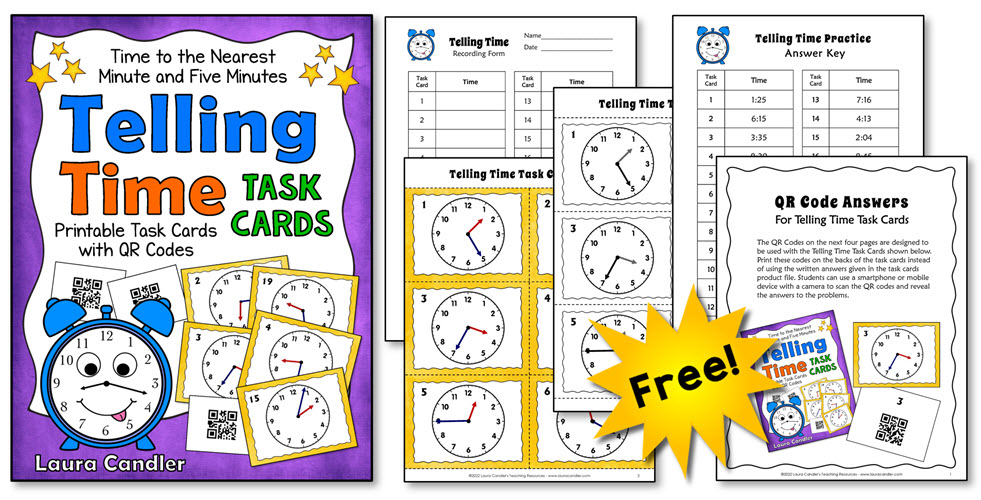
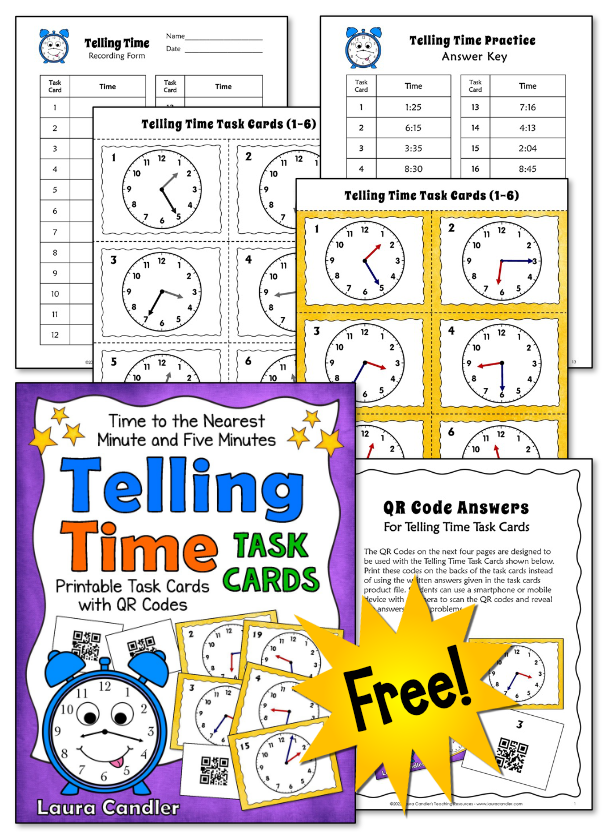
Telling Time Task Cards
Since you won’t be using worksheets, you’ll need a set of telling time task cards that show a variety of analog clock faces. If you don’t already have your own task cards, you can get the task cards below for free when you sign up for my email list. Or you can purchase them here on TpT.
Suggested Lesson Sequence
The five-part lesson below outlines strategies for teaching the basic concepts of telling time. The entire lesson will take several days or a week to complete, depending on the needs of your students. Click each topic in the lesson outline below to find step-by-step directions.
1. Review Multiplication Facts for 5 (Optional)
You can skip this step if your students haven’t yet learned the multiplication facts for 5. Instead of multiplying by 5, they will skip count around the clock. However, upper elementary students will find it much easier to tell time if they develop fluency with the multiplication facts for 5. If your students need to work on this skill, you can assign flashcards or these self-correcting Boom Cards for practice.
If you aren’t sure if your students need to practice the multiplication facts for 5, download this set of 4 mini quizzes and use them to check your students’ fluency. Cut the quizzes apart and give each student the first mini quiz. Start a timer and ask students to go down each column and fill out the answers as they come to them. (Some students like to count by 5 and fill out the form in the order of the answers.) As each student finishes, jot down their time. Finally, call out the answers and have students check their work and record the number correct at the top of their quiz. Collect the quizzes and make a note of who needs extra practice. Repeat this process each day until your students know the 5’s by heart.
2. Review Units of Time
Before you begin teaching your students how to read a clock, take a few minutes to review the basic units of time. Ask students to take out their individual dry erase boards and a marker. Check your students’ knowledge by asking questions about units of time and having them write the answers on their dry erase boards for you to check. Use any or all of the questions below.
- How many seconds are in a minute?
- How many minutes are in an hour?
- How many hours are in a day?
- How many days are in a week?
- How many weeks are in a year?
3. Introduce Digital and Analog Clocks
For this part of the lesson, each student will need an analog clock with moveable hands. If you don’t already have a classroom set of clocks, download this free clock pattern and have your students make them from paper plates.
Display a large clock where everyone can see it and explain the parts of a clock, i.e., what the numbers represent, how to tell the minute hand from the hour hand, etc. If this is the first time your students have been introduced to the analog clock face, begin by teaching them how to tell time to the nearest five minutes.
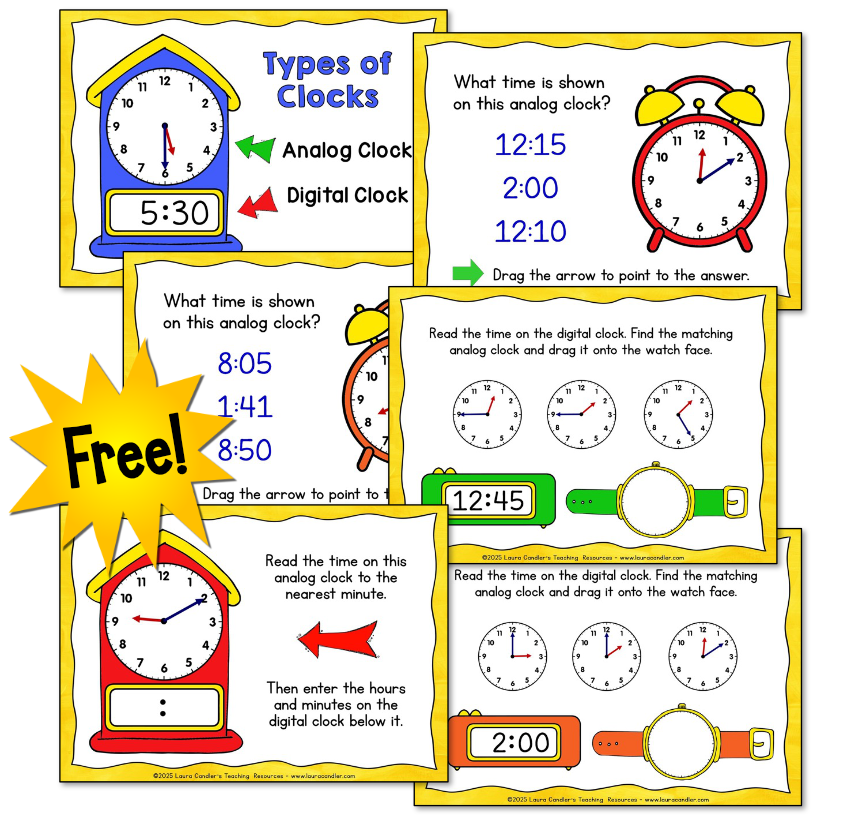
Next, show your students how to write the time displayed on the clock face in hours and minutes as it appears on a digital clock. If you’re comfortable with Google Slides, you can use the Analog and Digital Clock Examples below in the lesson. These slides were taken from my Telling Time Google Slides Task Cards. Display the slides, one at a time, and ask students to write the answers on their dry erase boards.

4. Teaching Kids How to Set the Hands on a Clock
Another important skill is learning to set the hands on a clock. For this part of the lesson, you’ll need to display a blank digital clock like the one below where everyone can see it. You can draw a basic digital clock like the one below or open the image file in a new tab and display it on a whiteboard. Each student will also need an analog clock with moveable hands. Write a time in number form on the digital clock, and ask your students to move the hands on their clocks to the correct positions. When everyone is finished, have them turn to a partner, show each other their clocks, and discuss their work.
Start by writing times that are easy to show on a clock, and gradually increase the level of difficulty as your students master each skill. Times written in whole hours, such as 3:00, are the easiest to show because both hands will be pointing directly to a number. Half hours are more challenging because the minute hand will be pointing directly at the 6, but the hour hand will be halfway between two numbers. Times that are close to the next hour are the most challenging of all. For example, when the clock shows 7:55, the hour hand may appear to be pointing directly at the 8 but it’s not quite there yet.
5. Telling Time Showdown Activity (Guided Practice)
After you introduce these skills, your students will need lots of practice with telling time. One of my favorite activities for review and practice is Showdown, an interactive strategy that can be used in a whole group setting or in cooperative learning teams. If you aren’t familiar with this activity, you can find detailed directions in my Show What You Know blog post.
For this lesson, you’ll need the printable Telling Time Task Cards that I shared with you earlier, and each student will need a small dry erase board and a marker. If you’re using the task cards for whole group instruction, you’ll also need a document camera for displaying the task cards. If your students will be working in cooperative learning teams, you’ll need one deck of task cards and an answer key for each team.
Class Showdown
Cut the Telling Time Task Cards apart, stack them into a deck, shuffle them, and place them face down in a pile. Then turn over the top card and place it under the document camera so that everyone can easily see it. Ask your students to record the time on the clock in number form and then place their dry erase board face down to show they are ready. When all boards are facedown, say “Showdown!” and ask everyone to flip their boards face up for you to check. After you discuss the correct answer, turn over the next task card and repeat the process as needed.
Team Showdown
Seat your students in teams of three or four and place a deck of Telling Time Task Cards face down in the middle of the team. Designate one person on each team to be the first leader. Ask the leader to flip over the top task card and show it to everyone. All team members (including the leader) secretly write the answer on their dry erase board without talking and turn it face down when ready. When all boards are face down, the leader says “Showdown!” and everyone shows and compares their answers. The leader checks the answer key to find out the correct answer, and the team discusses the answer as needed. This process is repeated as time allows, and the role of team leader rotates to the left after each round.
Mastering the Basics of Telling Time
These lessons for teaching time focus on teaching basic skills because those skills need to be mastered before you can introduce more challenging concepts. For example, students need to understand how a clock works before they can learn to calculate elapsed time. Teaching AM and PM will also be easier after basic skills are mastered. Another important skill is learning to convert units of time, such as minutes to hours, and having a solid understanding of how to tell time will benefit students as they explore these new concepts.